We are going to discuss the composer(Dependency manager), and first, I’ll give a quick difference b/w the composer install and update.
So while we run the command composer install in our terminal it checks composer.lock file and install all specific version those mentioned in the file.
And composer update checks the composer. json file and checks the packages.org server to get any new version of mentioned packages and install them in the project.
As a result, you should run composer update on your local machine and composer install on a production server.
If you want to go deep further in the comparison of composer install and update then you can check my another article Difference between composer install and update.
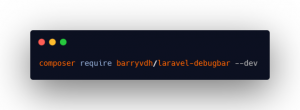
Next, let’s talk about — dev flag in the command while installing any package so simply we can use like below snippet to install the package only for development. e.g.

So if you do composer install then all dependencies will be installed but if we want to install only dev or non-dev dependencies in the project then we have to mention it manually because the composer is not a Laravel tool so can’t get it from laravel’s .env file that you are in development or production.
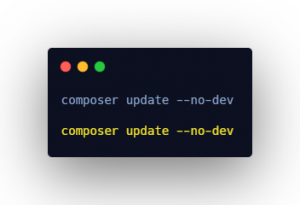
we can do it manually like the below snippet and it will install only required packages and remove dev-based packages as well if any are installed already.

We can also check outdated packages of our project and we can update them specifically if needed. we can do this by using the command:- composer outdated and it will give the list of all outdated packages with related information.
